

Worn Illustration Tutorial
Here's how I achieve the vintage look for my illustrations and logos.


Howdy there, I reckon you’re looking for some help getting your illustrative logos to feel just right. To get the vintage appeal and the balanced layout, follow along to learn the process.
If you’re more of the video type, I posted one here.
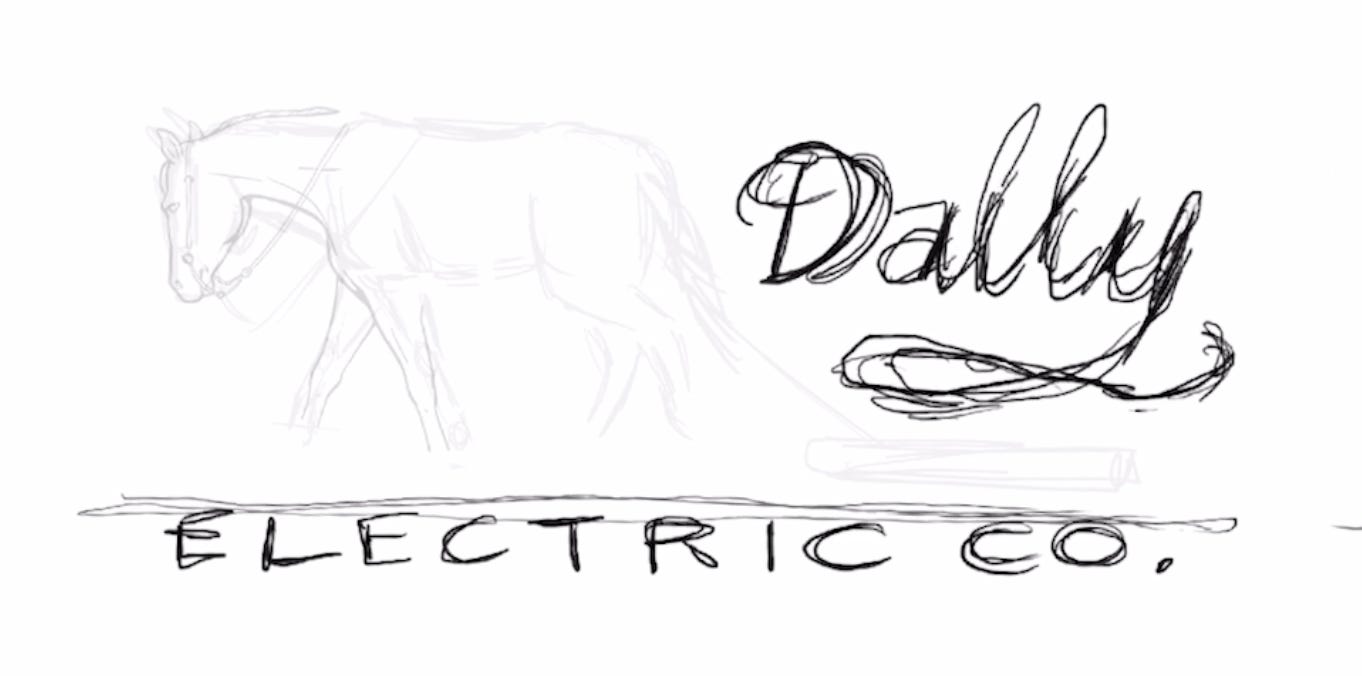
Step 1: The First Sketch
Start by sketching the object or overall vision. In this case, I am drawing a horse pulling a log (this is called dally). I know the horse needs to appear as if it is actually working/pulling (not just standing still) and I know the log needs to be a focal point.
Once you’ve got the angle and anatomy as you’d like (remember, keep this really loose for now!), you can begin considering the rest of the design.
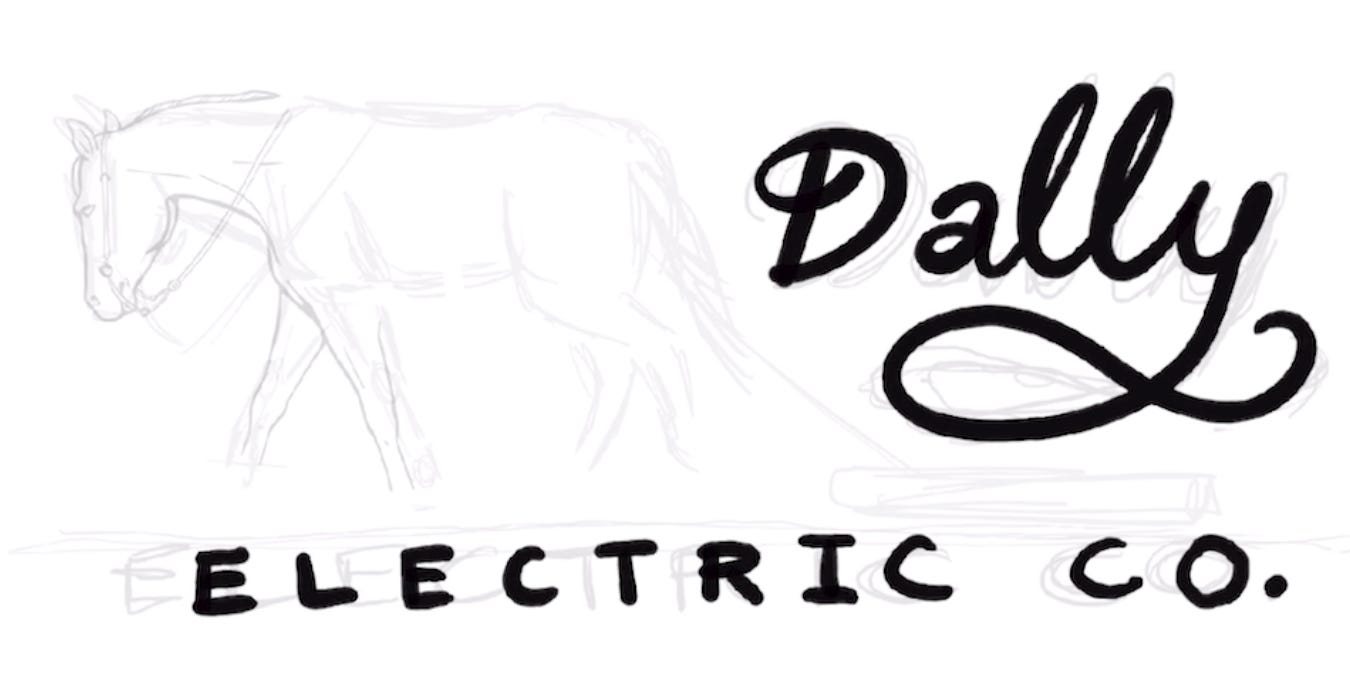
Step 2: Blocking in the Layout
Block in the layout. You need to know what text will be surrounding the illustration. Not just any brand name can be slapped next to the same illustration. You have to consider the weight of the typography and the length of the words. Are they long enough to wrap around? Are they short and sweet? If this isn’t a logo, maybe the text should be smaller anyways - depends entirely on the situation.
Feel free to DM if you want me to quickly review scale in your drawings. I’m always happy to be unbiased and an outside perspective.
To scale the drawing appropriately, here are some things to consider:
How big will it be seen?
Is it near text at all?
Is it the most important part of the overall layout?
Should the eye view it first, second, or last?
Once you have a target scale for this illustration, you can begin the second sketch.
Note: sometimes the same first sketch will be used to create multiple illustrations. I do this; thicker lines for small icons like social avatars, and thinner lines for something that will be viewed full-screen or printed across the back of a shirt, for instance.
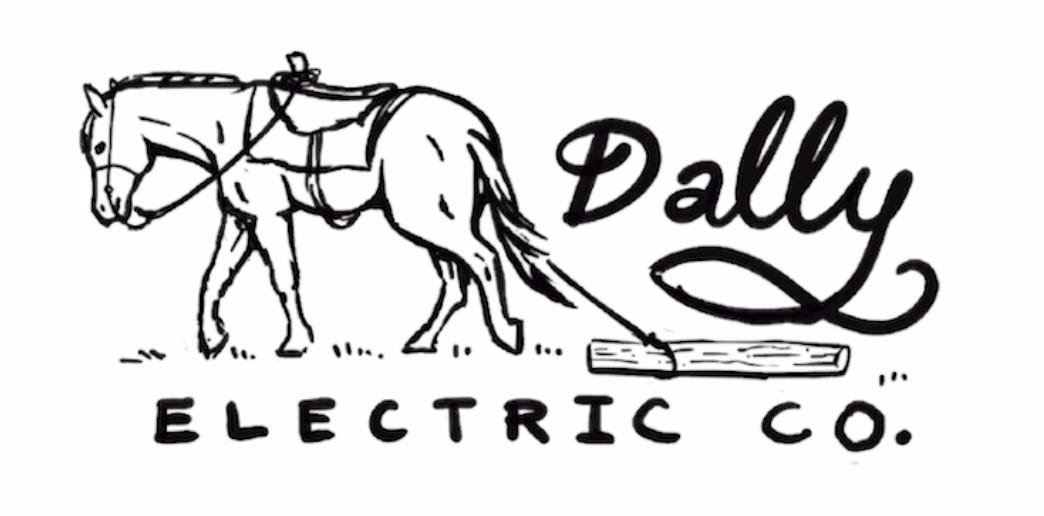
Step 3: Third Sketch - Rough & Tumble
This sketch should be rough, but most importantly, it is considering line weight relative to the rest of the design.
In this case, I’m also using line weight to imply the strong muscles of the horse and to show the dimensionality of the drawing. I want the horse to feel really sturdy and real without actually shading it.
Use thicker lines in these places to get that 3D look:
On the bottom of any object (or sometimes off to one side if your light source is like that, i.e. a sunset or something)
On overlapping objects, the foreground will have a thicker outline where it is overlapping something in the background.
A slight curvature to the interior angles will also help to deepen the artwork.
Step 4: Clean up in Aisle 14
Drop that rough sketch with line weight to a different layer at a really low opacity. I choose 15% a lot of the time.
Now you’re going to carefully draw over this. Draw as if these lines are final - keep them clean, make sure they are the correct weight and thickness.
Pro tip: in Photoshop, use “smoothing” to help you draw smoother curves. If you’re using the pen tool (like in Illustrator), there is a width tool that you can use.

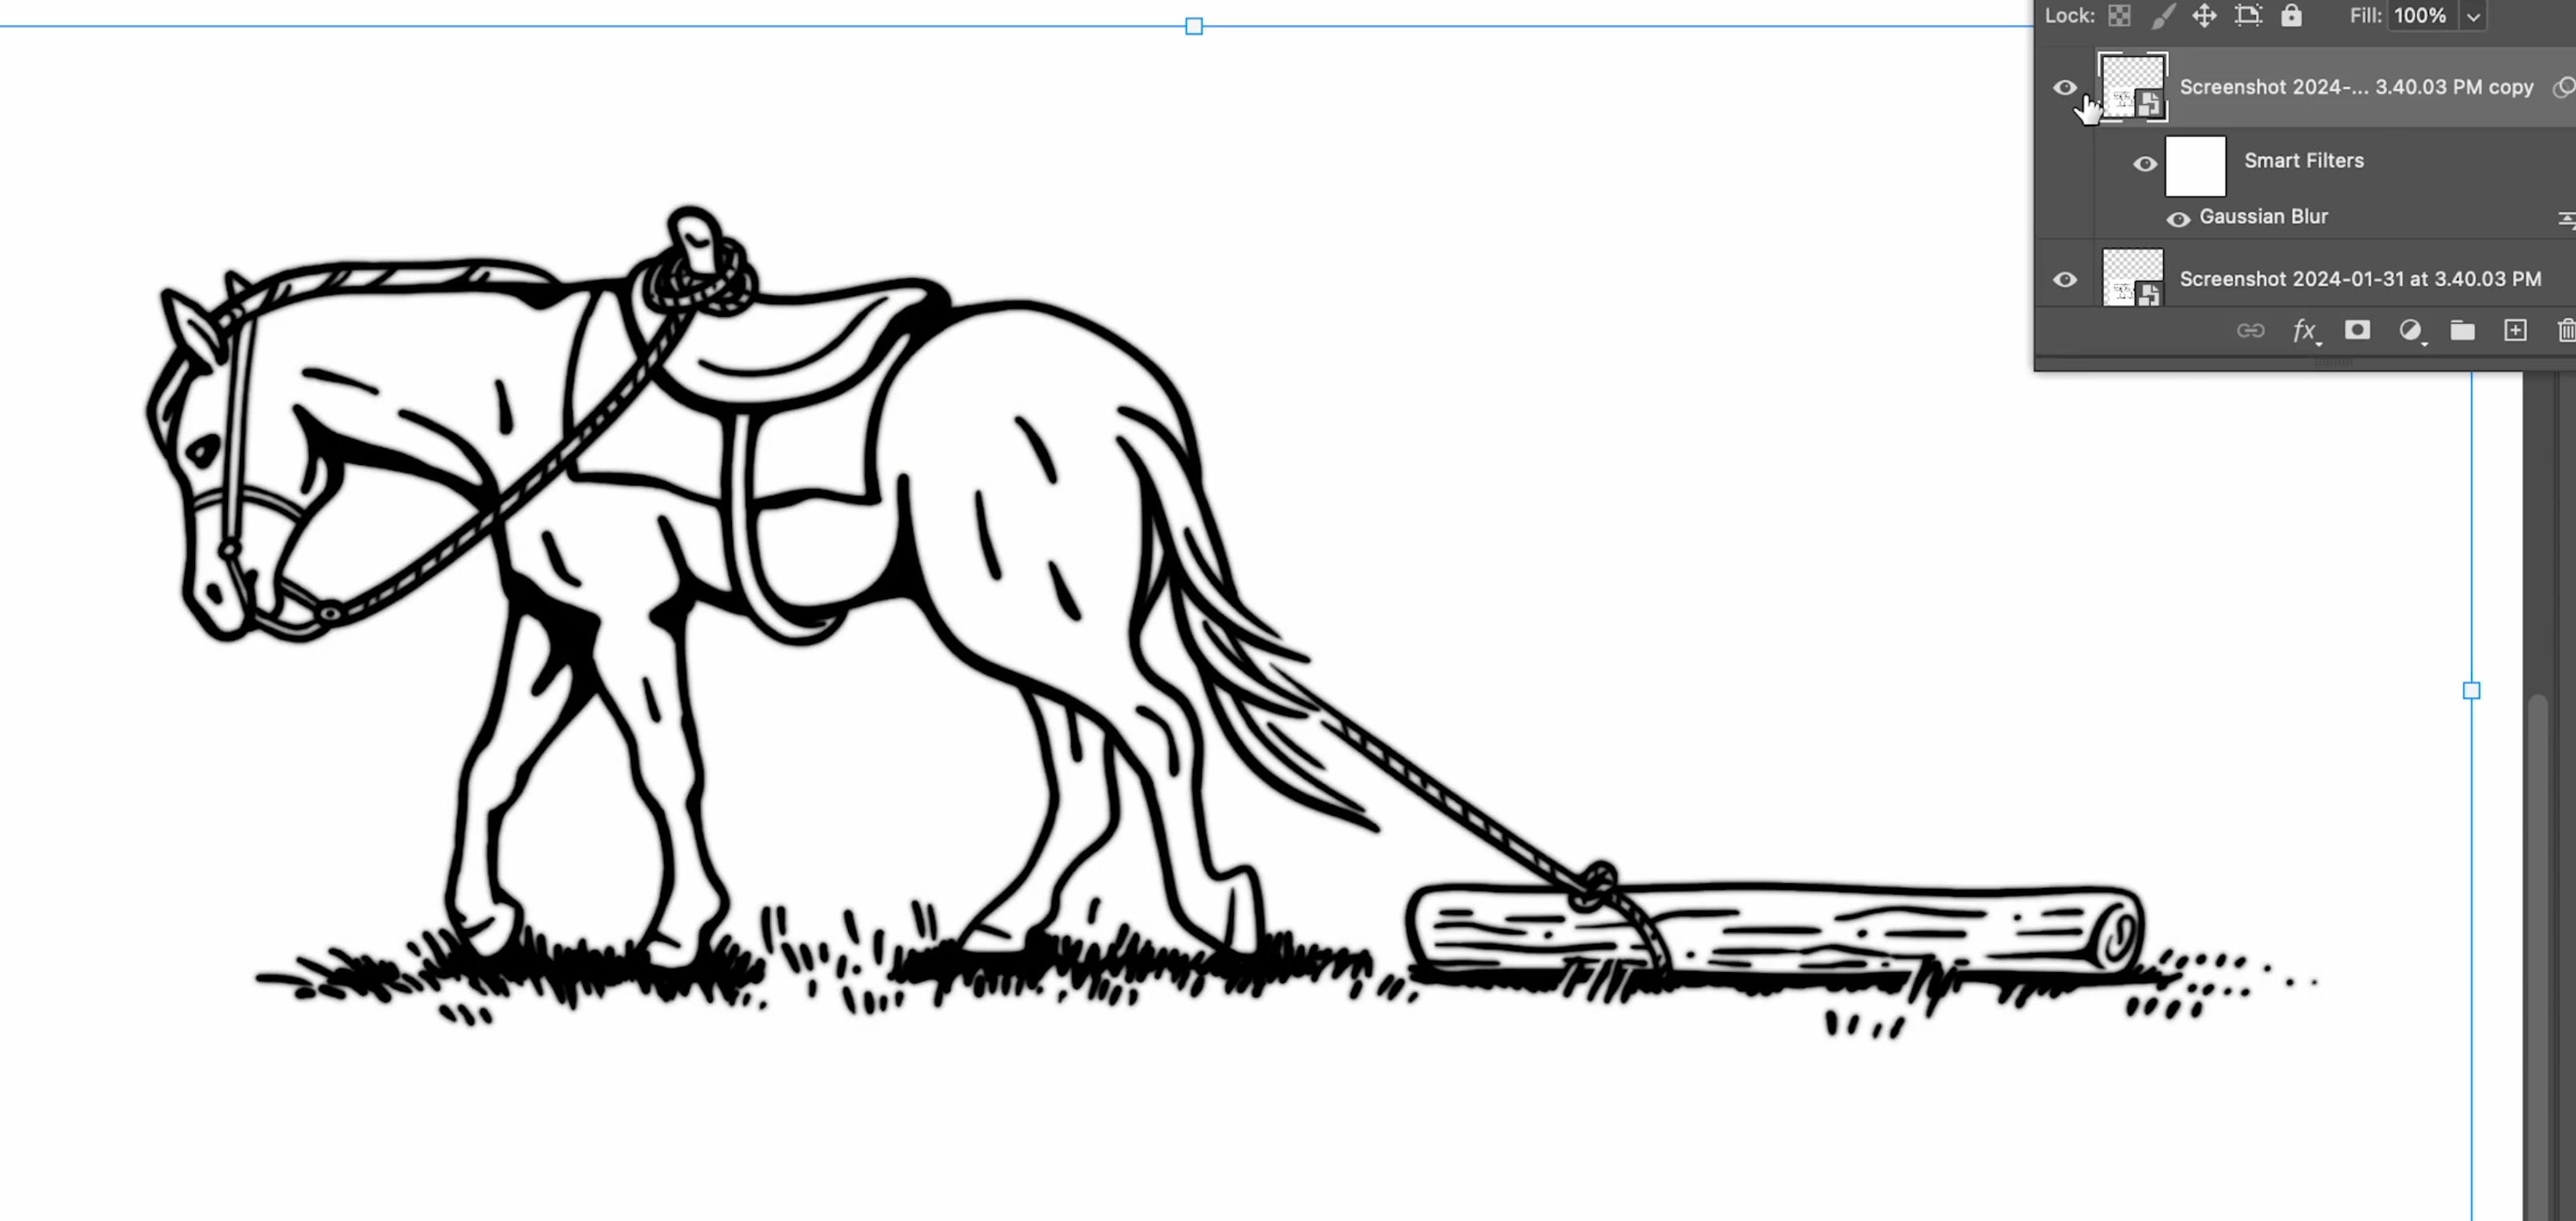
Step 5: Take off the Glasses, Accept the Blur
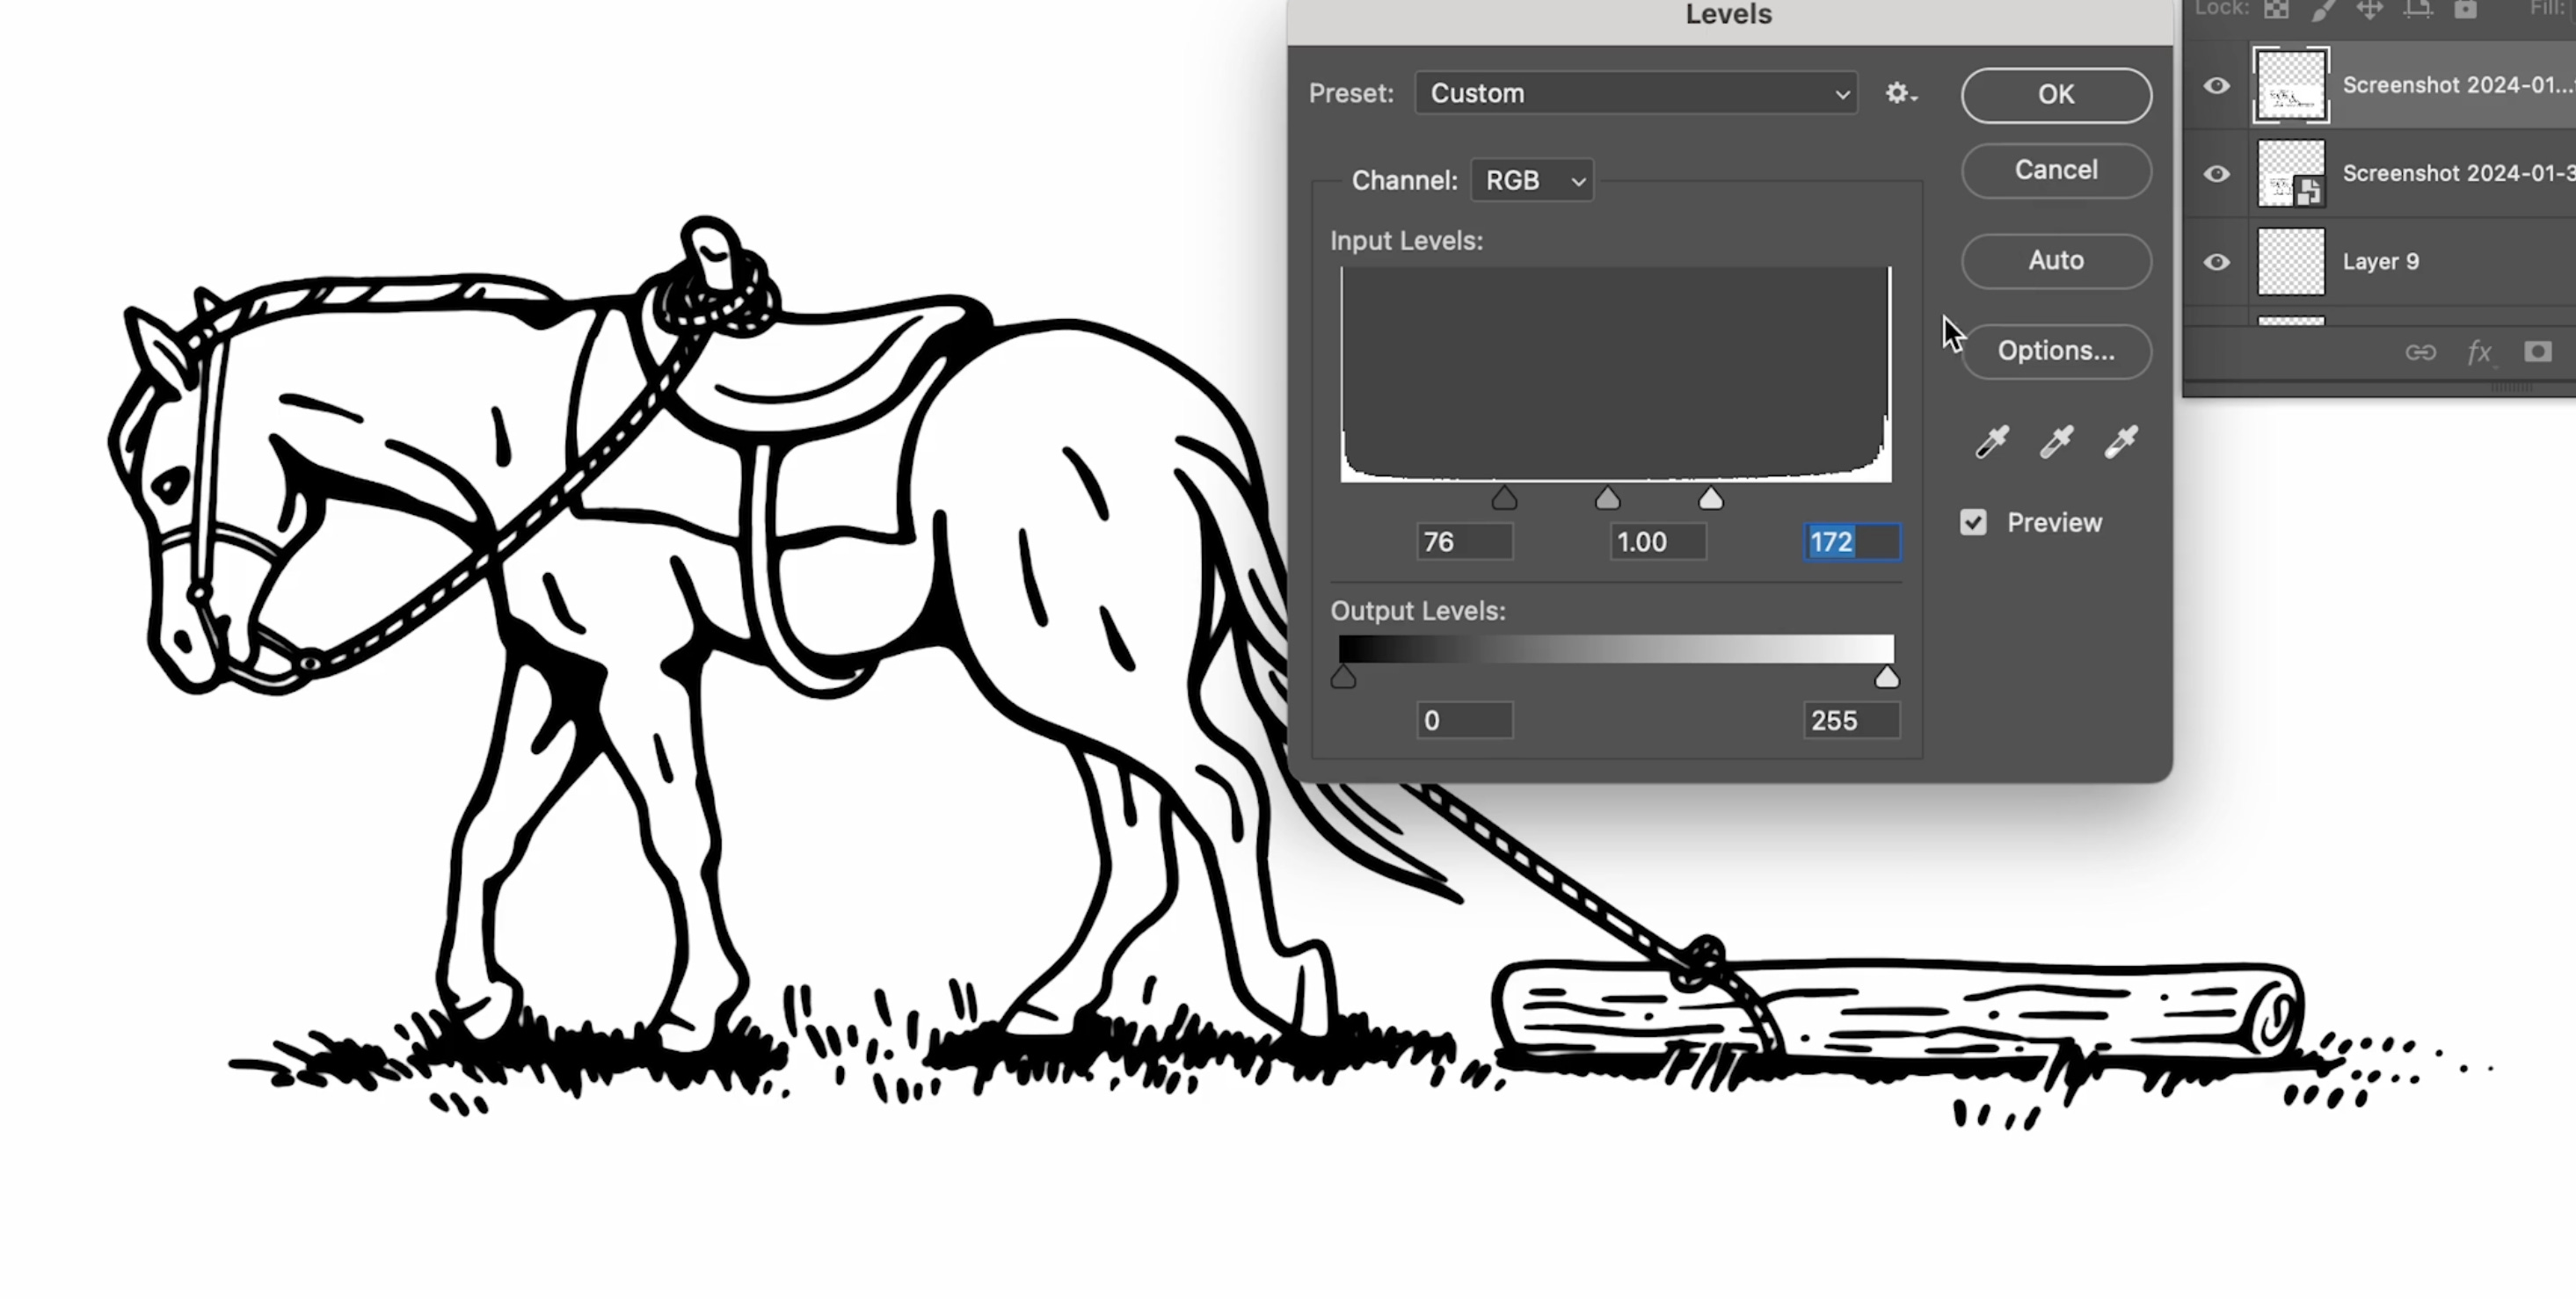
When you’re happy with the look of your lines and with your final illustration, it’s time to finish the final part of the process. To get the carved or worn look, we need to duplicate the line art layer and use gaussian blur at 2-5%.
Next, use the levels to adjust the blacks and whites to carve away some of the blurred lines. It’ll start to look more crisp - just how I like it.
This is totally up to preference as well as the level of detail in the art. The more detail, the less you can bump the whites and the less blur you can do. If it’s thicker - you can kind of go crazy with it. You’ll have to tweak this a bit to get the effect to match your art, but it’s really quick to try a few ways.
Step 6: Creating Vectors
Once you’ve blurred this and adjusted the levels, take a screen grab or export to PNG and take that to Illustrator.
Object > Image Trace > Create
Adjust the settings as you need. These are roughly the settings I end up using 2/3 of the time.
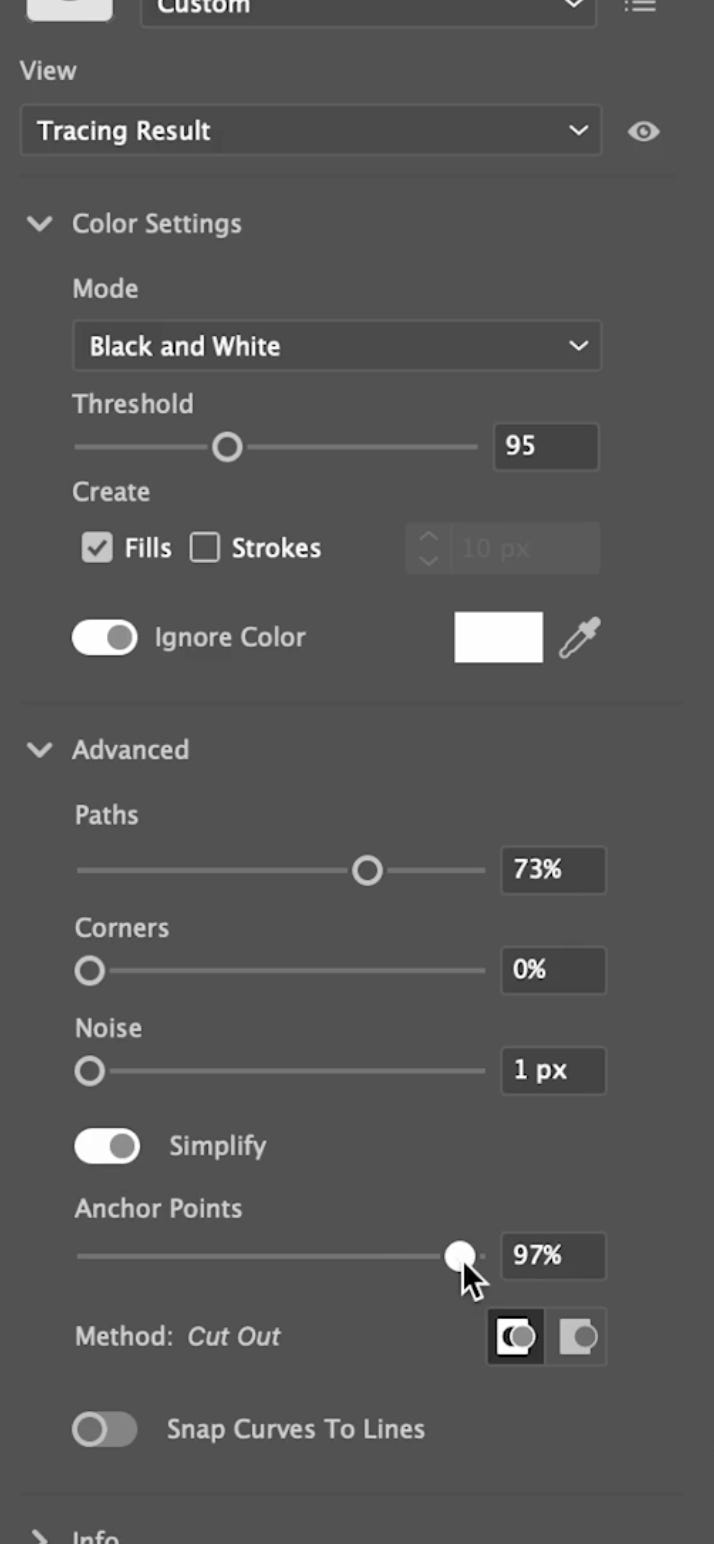
I prefer to remove the background color here, as I don’t often color in the line art that I draw. Once I like where it is, I just hit expand.
And wallah. Vector art.
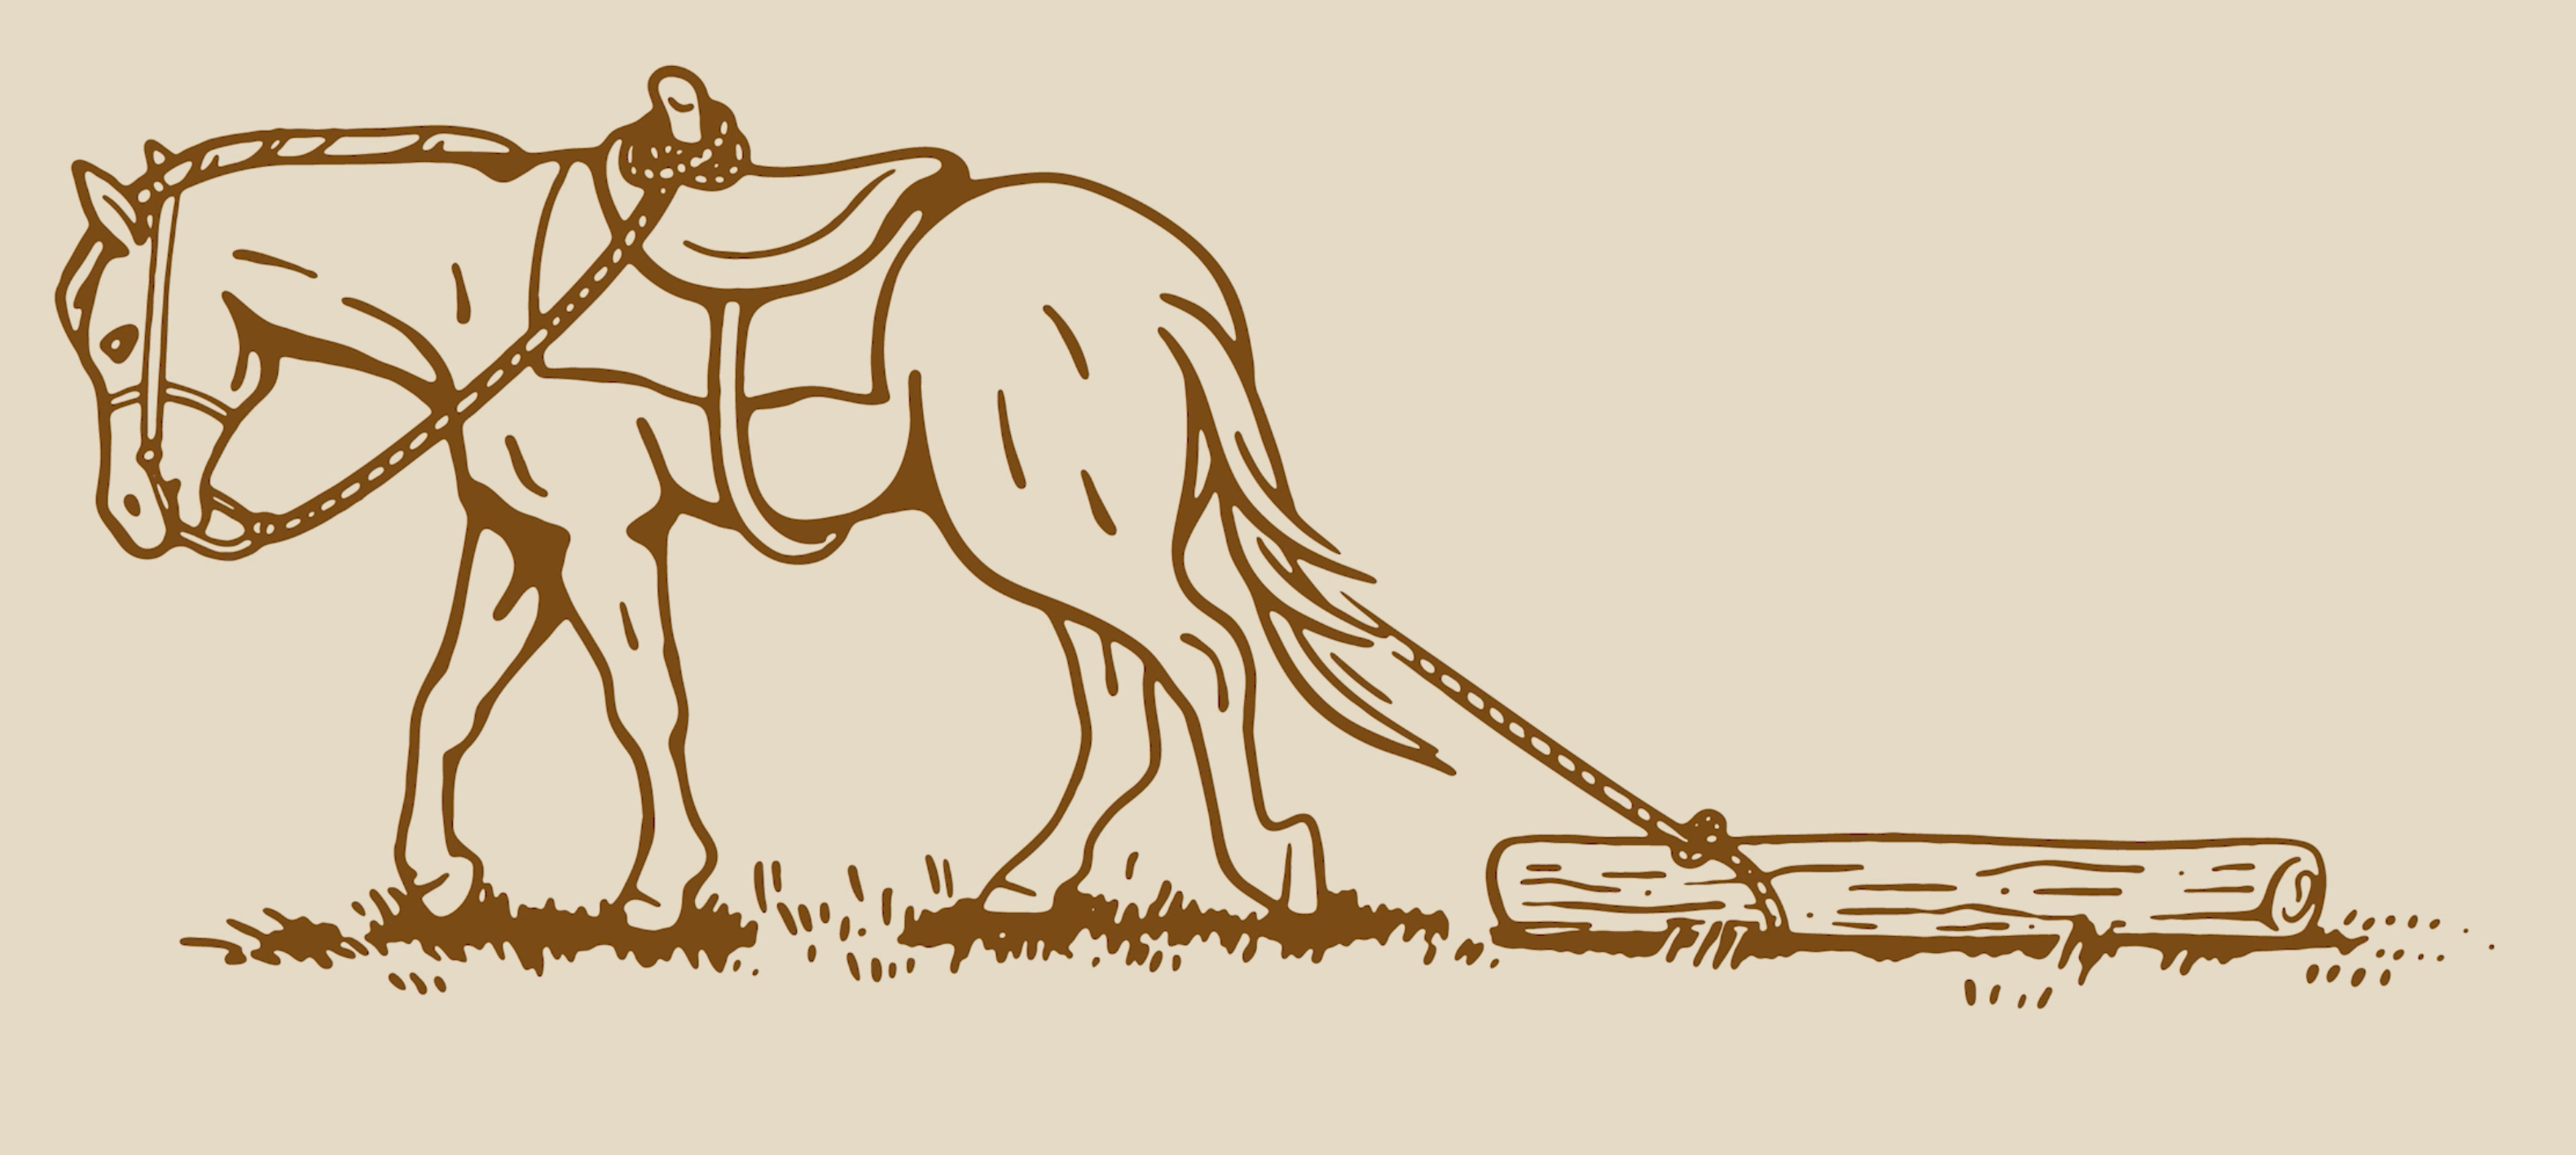
Often I do need to go in and clean up certain points and curves by hand. This is where the time sink really is. Practice makes perfect. Clients deserve your best foot forward, so I always make sure to take my time on this step and treat the artwork with respect.
That's it. Once you’ve got this system down it’s so easy. Pinky promise.
Good luck. You totally got this.
If you enjoyed this tutorial and want to learn more and co-miserate with fellow designers, join my discord.